Bold graphics come and go, but authentic local stories stay with people for generations. For creatives in Fresno and the Bay Area, drawing inspiration from your community’s folklore and heritage adds genuine meaning to your custom t-shirt designs. Focusing on cultural heritage shapes design choices that outsiders cannot replicate, this guide reveals how you can turn regional narratives into wearable art that inspires pride and resonates with locals.
Table of Contents
Quick Summary
| Key Point |
Explanation |
| 1. Gather Local Stories |
Engage with your community to collect authentic narratives that inspire your t-shirt designs. |
| 2. Choose Relevant Design Elements |
Select typography, colors, and textures that reflect the cultural themes behind your stories. |
| 3. Utilize Digital Design Tools |
Use beginner-friendly software like Canva for creating professional-quality t-shirt artwork. |
| 4. Select Appropriate Printing Methods |
Choose a printing method based on your design complexity, budget, and desired outcome. |
| 5. Conduct Thorough Sample Reviews |
Carefully inspect samples before production to ensure quality and accuracy in your final product. |
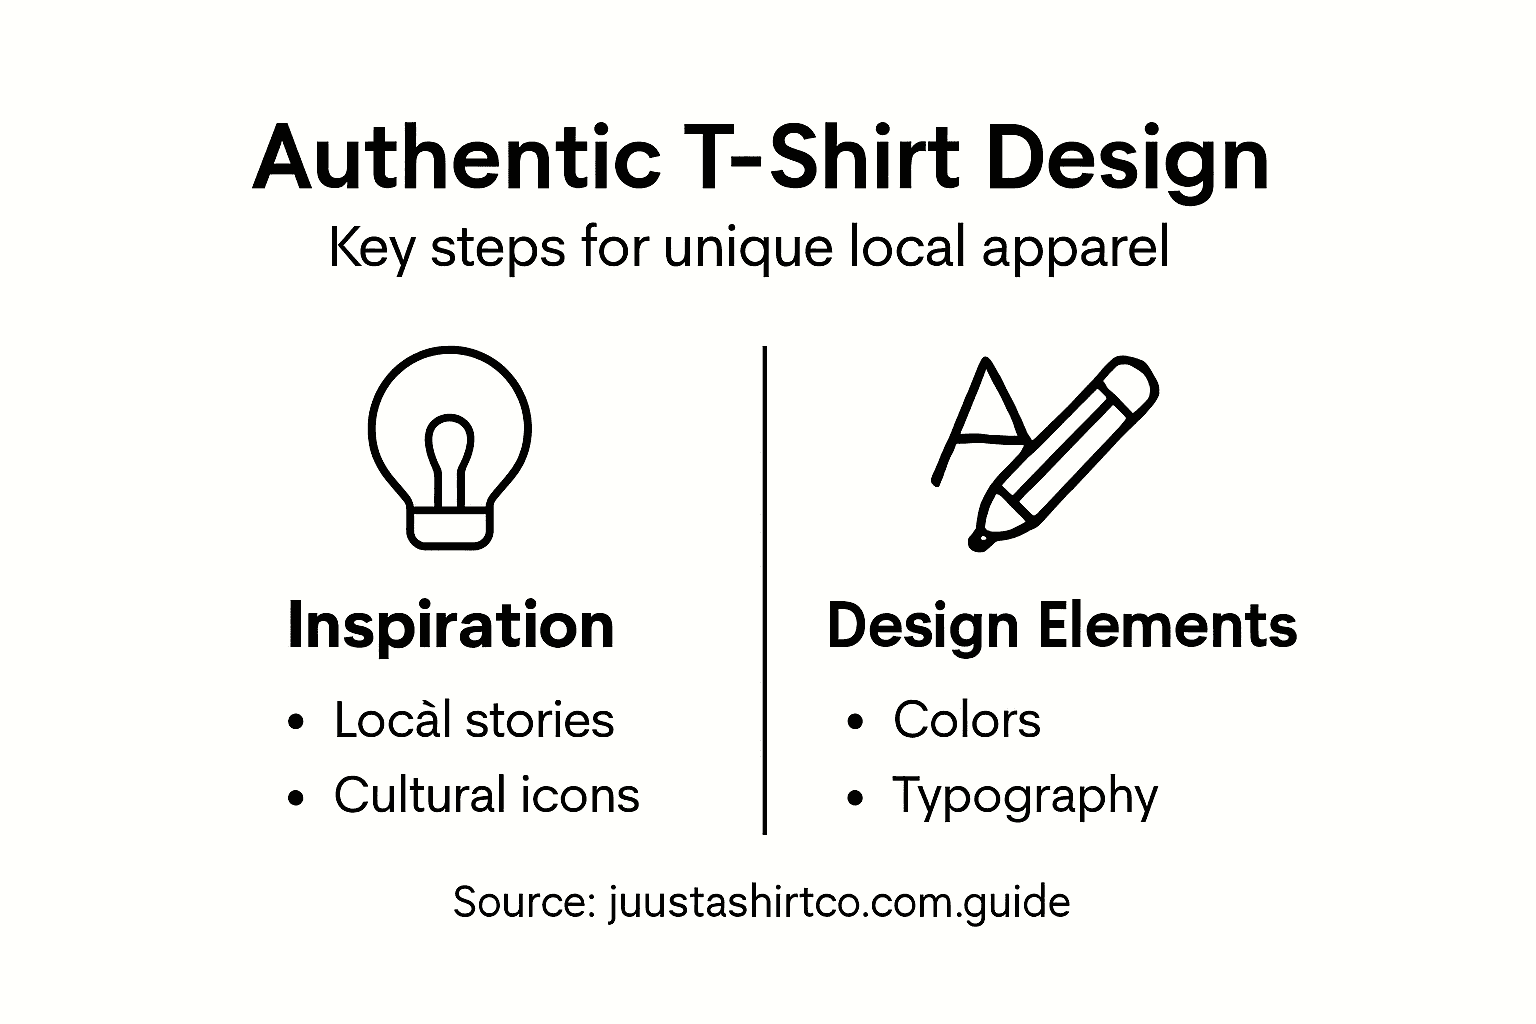
Step 1: Gather inspiration from local culture and stories
Your best custom t-shirt designs start with genuine local stories, not generic graphics or trends. The Fresno and Bay Area regions overflow with untold narratives waiting to be captured on apparel. Before you sketch anything, you need to immerse yourself in the cultural narratives, historical events, and regional pride that make your community unique.
Start by exploring the stories that locals actually care about. Walk through neighborhoods and notice what people talk about. Visit local museums, historical societies, and community centers where the real stories live. Listen to longtime residents and business owners who remember how things used to be. These conversations reveal the emotional core of what makes your region special. You’ll discover that cultural heritage shapes design choices in ways that outsiders simply cannot replicate.
Research local folklore, legendary creatures, founding stories, and significant historical moments. For the Bay Area, this might mean diving into Gold Rush history, tech industry origins, or indigenous heritage. In Fresno, you could explore agricultural roots, water history, or regional legends. Document these discoveries through photos, sketches, quotes, and visual references. Create a mood board that captures the feeling, colors, and imagery associated with each story. This becomes your creative foundation.
Engage directly with your community through social media, local Facebook groups, or neighborhood gatherings. Ask people what stories they wish they saw on t-shirts. What makes them proud? What moments shaped their identity? Designing regional t-shirts for local pride requires understanding what resonates emotionally with the people wearing them. Their answers will guide your design direction far better than any assumption you could make.
Take time to study how successful local apparel celebrates authenticity. Look at designs that actually connect with people versus ones that feel forced or inaccurate. Pay attention to color palettes, typography choices, and how artists balance illustration with simplicity. Notice which designs tell a clear story and which ones confuse the message.
Pro tip: Create a dedicated Pinterest board or digital folder specifically for inspiration from your community, including photographs of local landmarks, historical documents, color palettes from your region, and any existing local art that captures the spirit you want to convey.
Step 2: Choose design elements that reflect your theme
Now that you’ve gathered your inspiration, it’s time to translate those stories into visual language. Design elements are the building blocks that communicate your theme instantly. When chosen thoughtfully, they transform a simple t-shirt into a conversation starter about local pride.
Typography deserves your first focus. The font you choose speaks before your imagery does. A bold, angular typeface might suit an industrial or mining heritage story, while flowing, organic letterforms could echo agricultural or natural themes. Consider how typography shapes audience perception by balancing legibility with personality. Your chosen font needs to remain readable when printed at small sizes on fabric, but it should also feel authentic to your theme. A vintage serif font works beautifully for historical narratives, while modern sans serifs might better suit contemporary local movements.
Color selection anchors your entire design’s emotional impact. Research what colors naturally associate with your theme. Are there signature hues from your region’s landscape? Historical color palettes from the era you’re celebrating? Complementary color choices create contrast and visual interest, while a consistent palette ensures your design looks intentional. Limit yourself to three to four colors maximum to keep production costs manageable and maintain visual clarity. Remember that colors appear differently on various fabric tones, so always test samples before final production.
Placement and composition matter as much as the elements themselves. Consider whether your design works as a centered chest print, a full back piece, or a sleeve design. Successful local apparel balances visual weight so the shirt feels complete rather than cramped or empty. Think about how the design interacts with the wearer’s body. A design that’s too large overwhelms; too small, and it disappears.
Texture adds depth that makes designs memorable. Whether you’re using embroidery, screen printing with puff ink, or vintage distressing effects, these tactile choices reinforce your theme. Rougher textures suit gritty urban narratives, while smooth finishes feel more polished and modern.
Below is a quick reference for essential design elements and their impact on local t-shirt appeal:
| Element |
Function |
Impact on Apparel |
| Typography |
Conveys cultural tone |
Sets regional mood |
| Color Palette |
Evokes emotional connection |
Reinforces local identity |
| Texture |
Adds visual and tactile depth |
Differentiates from mass designs |
Pro tip: Create multiple mockups of your design on different colored shirt templates before committing to production, allowing you to test how your color combinations and placement actually look on fabric rather than just on your computer screen.
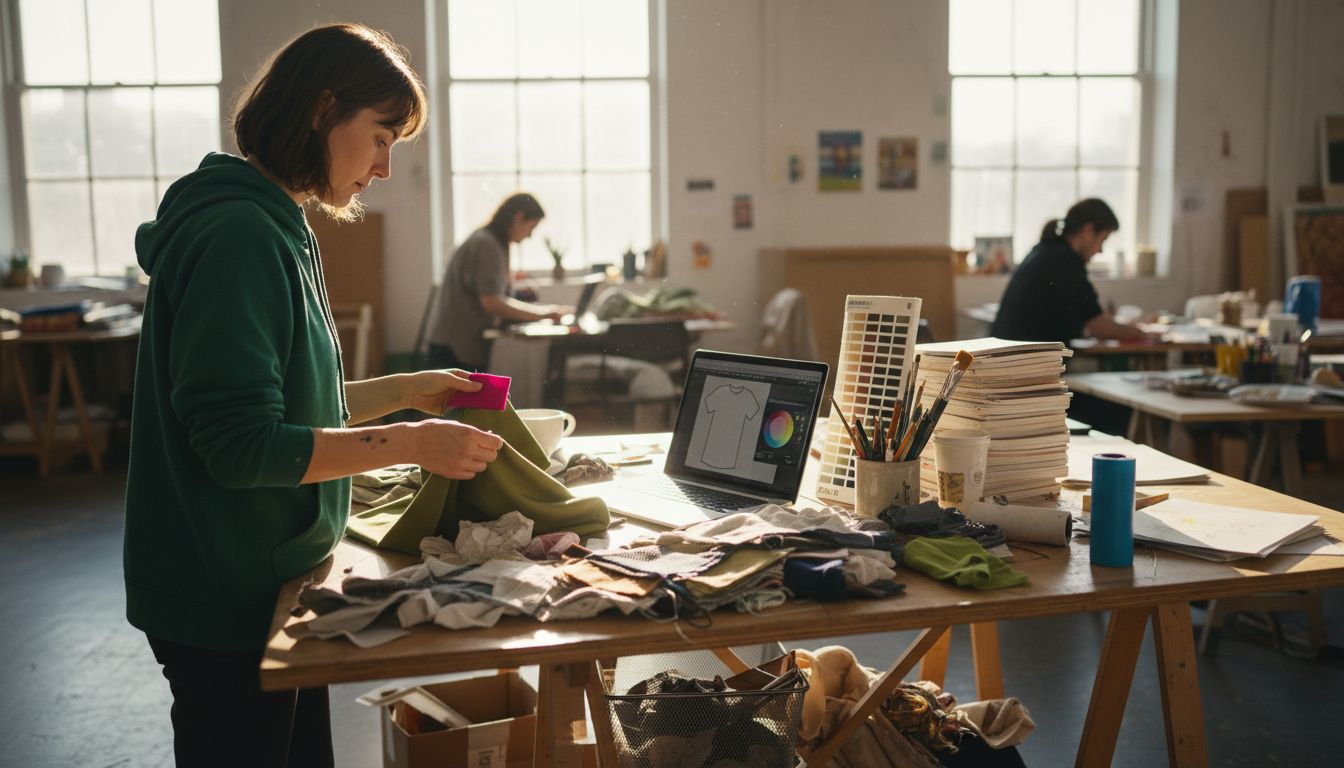
Your design concept now needs to become a finished digital file ready for printing. Digital tools have transformed t-shirt artwork creation from an expensive, specialized skill into something accessible to entrepreneurs and creatives at any skill level. The right software can turn your vision into professional-quality artwork without requiring years of design training.
Start with beginner-friendly design platforms like Canva if you’re new to digital design. Canva offers pre-made templates, drag-and-drop functionality, and thousands of design elements that work perfectly for local apparel. You can import your sketches, add text, adjust colors, and create mockups in minutes. The learning curve is gentle, and you’ll produce usable designs quickly. For Fresno and Bay Area designers just starting out, this approach lets you focus on storytelling rather than mastering software syntax.
If you want more control and professional capabilities, vector graphics software like Adobe Illustrator or CorelDRAW provides precision and scalability. These tools excel at creating detailed artwork optimized for textile printing. Vector graphics scale infinitely without losing quality, which matters when your design needs to work on everything from small chest prints to large back pieces. Yes, these programs have steeper learning curves, but the investment pays off if you plan to design regularly.
As you develop your artwork, use the software’s mockup features to see how your design actually looks on a t-shirt. Most modern design platforms let you preview your work on different garment colors and styles. This visualization step prevents expensive mistakes and helps you catch proportion issues before production.
Consider the technical requirements for your printing method. Screen printing demands simplified artwork with fewer colors and bold lines. Direct-to-garment printing tolerates more complexity and photographic detail. Embroidery requires a different file format altogether. Understanding your production method shapes how you approach your digital design.
Pro tip: Save your design files in multiple formats (vector files like SVG or AI for editing, plus high-resolution PNGs or PDFs for printing) so you can easily adapt your artwork for different production methods and future revisions.
Step 4: Select printing methods and test your samples
Your artwork is ready, but how it gets transferred onto fabric matters enormously. Different printing methods produce vastly different results, and choosing wrong can undermine even the strongest design. The right choice depends on your design complexity, budget, production timeline, and the story you’re telling.
Screen printing creates bold, vibrant results perfect for designs with limited colors and strong visual impact. This traditional method works beautifully for iconic local symbols, cryptid illustrations, or heritage-focused designs that benefit from that classic, timeless feel. Screen printing excels at bulk orders and produces durable prints that last through countless washes. The tradeoff is that setup costs favor larger quantities, and photographic details get lost in translation.
Digital printing (also called direct-to-garment or DTG) handles complex, detailed artwork with multiple colors and gradients. This method works wonderfully for intricate designs celebrating local landmarks, historic photographs, or detailed artistic renderings. Digital printing allows small batch runs without expensive screen setup, making it ideal for testing designs or limited edition runs. The prints feel softer on fabric but may not last quite as long as screen printing.
Heat transfer offers flexibility for smaller orders and allows you to test designs before committing to screens or digital printing. Selecting the right printing method depends on factors like design complexity and order size. Different methods suit different goals, so matching your method to your needs prevents costly mistakes down the road.
Here’s how several printing methods differ for custom local t-shirts:
| Printing Method |
Best For |
Durability |
Minimum Order Size |
| Screen Printing |
Bold, simple local designs |
Very high |
Cost-effective in bulk |
| Digital (DTG) |
Intricate, multi-color art |
Moderate |
Flexible for small runs |
| Heat Transfer |
Testing new concepts |
Standard |
Ideal for very small runs |
Before full production, always order sample prints on actual garments. Request samples in multiple colors to see how your design appears on the specific shirt you plan to sell. Check for color accuracy, print durability, fabric compatibility, and overall quality. This sample testing step prevents expensive errors and ensures your finished products match your vision.
Pro tip: Order samples from at least two different printing methods if you’re uncertain which fits your design best, then compare durability, color vibrancy, and feel to make an informed decision before committing to full production runs.
Step 5: Review and finalize your custom t-shirt for launch
You’re nearly there. Your design is printed, your samples have arrived, and now comes the critical moment of truth. Before you launch and start selling, you need to examine every detail with fresh eyes. This final review step separates professionals from amateurs, and it protects your reputation and your customers’ satisfaction.
Start by laying out your sample shirts under good lighting. Look at the print quality from multiple angles and distances. Does the color match your design vision? Are there any printing defects, ink bleeding, or uneven coverage? Check the placement on the garment. Is it centered properly? Does it sit at the right height on the chest or back? Small placement errors that seemed invisible on screen become glaringly obvious on actual fabric.
Examine the durability and feel of the print. Rub the design gently to check for loose ink or cracking. Wear the shirt and move around. Does the print flex naturally with the fabric, or does it feel stiff and uncomfortable? Test a sample in the washing machine to see how it holds up. This hands-on testing reveals real-world performance that mockups never show.
Communicate any concerns directly with your printer. If colors are slightly off or placement needs adjustment, address it now before full production. Most quality printers welcome this feedback and will make corrections. Thorough quality control on samples ensures your finished product represents your artistic vision accurately and prevents costly mistakes at scale.
Once you’ve approved the samples, get written confirmation from your printer about specs, production timeline, and pricing. Document everything. Confirm that your final files are the correct format and resolution for the approved printing method. Verify shipping details and delivery dates so nothing surprises you.
Think beyond just the shirt itself. How will you package it? What will your hang tags, tissue paper, or boxes look like? These touchpoints tell your brand story too. For local pride apparel, every detail matters to your customers.
Pro tip: Take high-quality photos of your approved samples from multiple angles and in natural lighting, then store these images as your official reference standards to compare against future production runs and catch any quality variations immediately.
Bring Your Local T-Shirt Designs to Life with JuustAShirt
Creating custom t-shirts that truly capture the spirit of Fresno and the Bay Area requires authentic storytelling combined with quality apparel that represents your unique vision. If you want to move from local inspiration and thoughtful design elements to producing durable, comfortable garments that celebrate your community’s culture and cryptid folklore you need a trusted partner who understands the importance of craftsmanship and regional pride.
Discover our Heavyweight Cotton Tees - JuustAShirt collection crafted for everyday wear and perfect for screen printing or detailed designs.
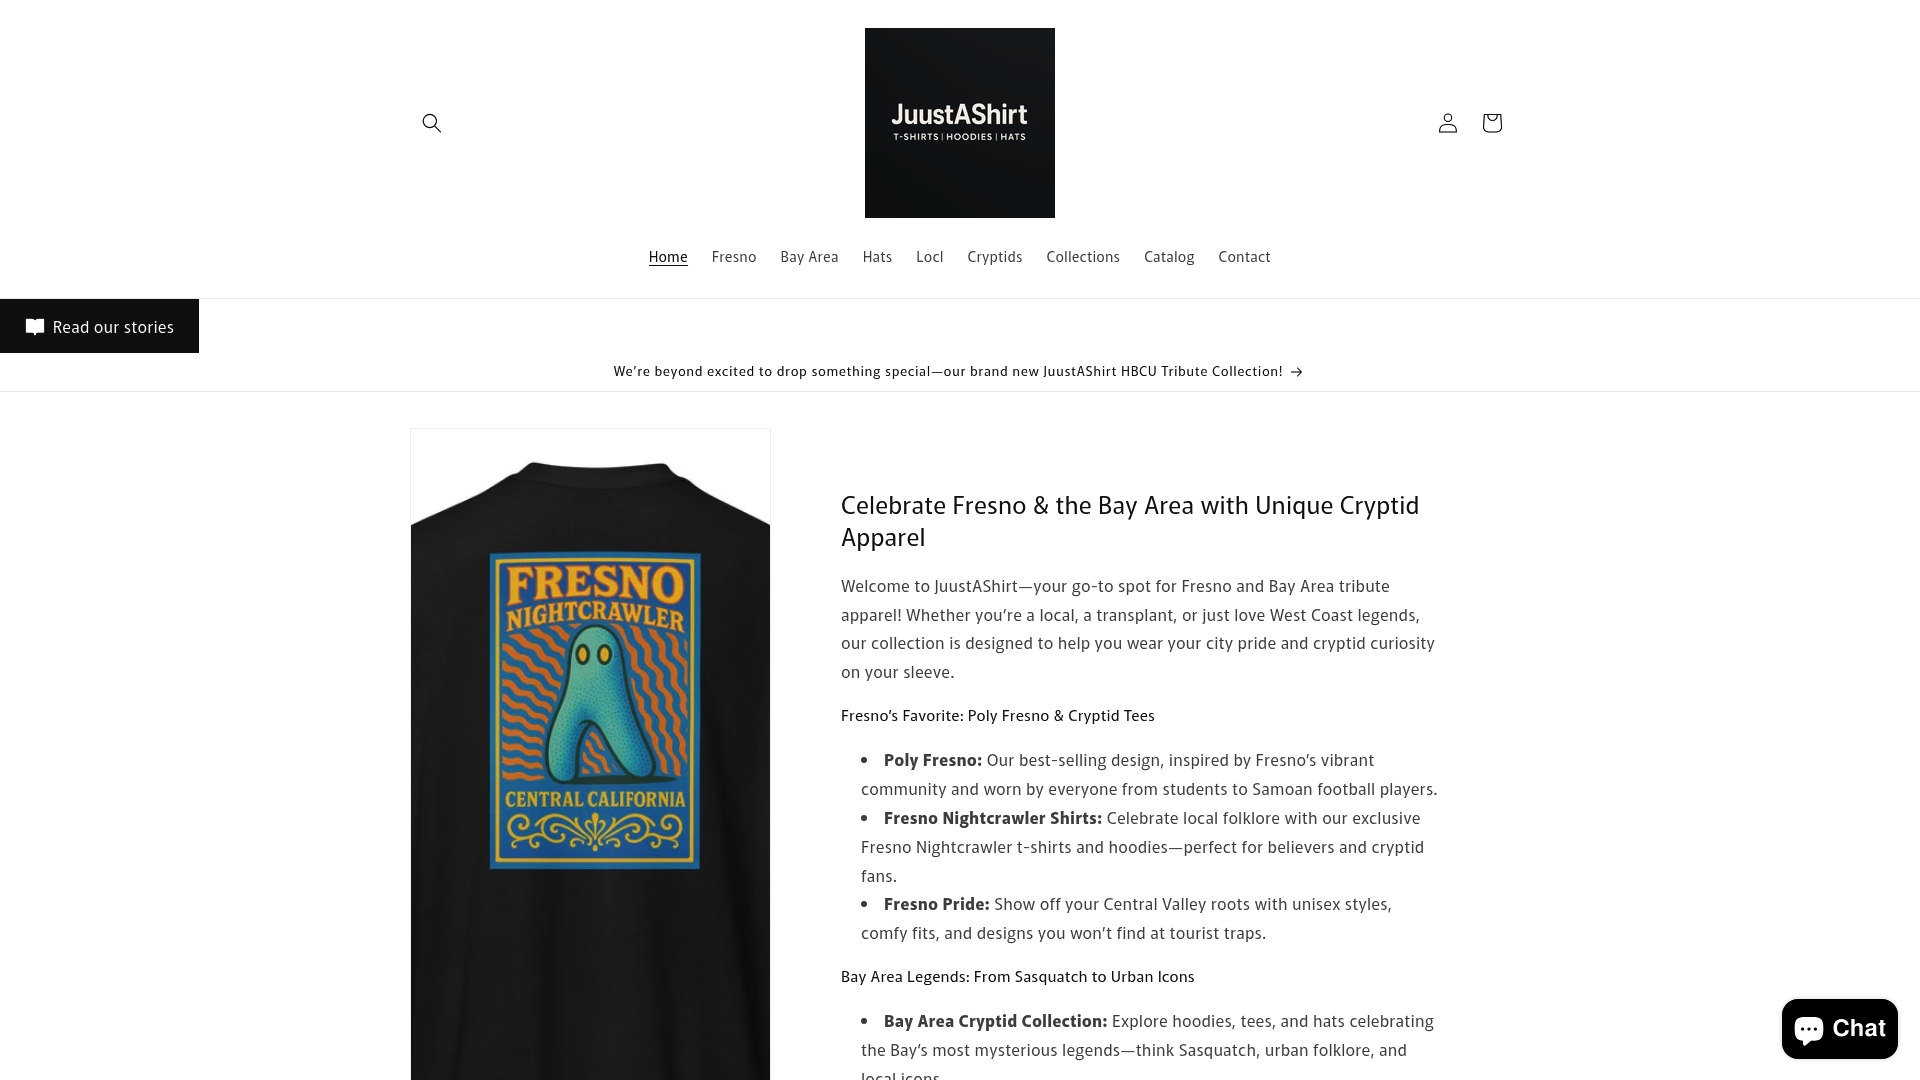
Start your journey with JuustAShirt today at https://juustashirtco.com. We are a veteran-owned, print-on-demand business focused on delivering locally inspired apparel that reflects authentic California culture. Let us help you turn your stories into statements. Visit now and explore how you can wear your pride with every custom piece.
Frequently Asked Questions
How can I gather local stories to inspire my custom t-shirt designs?
To gather local stories, engage with your community by visiting museums, speaking with longtime residents, and attending neighborhood gatherings. Take notes and create a mood board to capture feelings, colors, and imagery associated with these narratives.
What design elements should I consider when creating custom t-shirts?
Focus on typography, color palette, and texture when designing t-shirts. These elements communicate your theme effectively; for example, use a vintage font for historical themes and limit your color palette to three or four complementary colors for clarity.
Begin with beginner-friendly design platforms to easily create mockups of your designs. If you seek more professional capabilities, consider vector graphics software for detailed artwork, which can be scaled without losing quality.
How do I choose the right printing method for my custom t-shirts?
Select a printing method based on your design complexity and budget. For simpler designs, screen printing is effective, while more intricate designs may benefit from digital printing; always test your method with sample prints first.
What should I check during the final review of my custom t-shirt samples?
In your final review, assess print quality, color accuracy, and shirt placement in good lighting. Test the fabric’s flexibility and washability to ensure durability and confirm that it aligns with your artistic vision before full production.
Recommended

